|
| Before |
So, this was my kitchen when I bought my home - as my mother would say, "that is perfectly serviceable". Well, it was and the layout worked for cooking, I just didn't like being in there. The floor was squishy and jade green, the units and doors a laminate grey and the worktops were starting to show the signs of water ingress where they were joined together. The previous owners actually had the walls a similar colour to the floor but they white washed them over as advised by the estate agent!
 |
| After |
This is how my kitchen looks now. It has taken some time as I was keen to find as many bargains as I could but I think that is key to doing anything on a budget. I have always loved the idea of a white kitchen - they are forever chic. With my
mood board as inspiration, I went on the hunt for a ceramic sink - I found one on gumtree for £50 in pristine condition.
 |
| Ceramic sink |
Next on my list was to find some worktops and tiles. I found a good deal on oak block worktops on the internet and also purchased the matching upstands - I think they make the join between the work surface and tiles look more professional.
For the tiles, they had to be white and I was keen on a matt effect - I wanted the kitchen to feel homely and traditional rather than glossy. These proved harder to source but trusty ebay pulled though and I had 7 boxes delivered. With the matt idea in mind, I also found the cup-handles and matching door handles and a French style mixer tap in a brushed chrome finish. The handles were a couple of pounds each and the tap was only £25!
 |
| Brickwork fashion |
Refurbishing the cabinets also saved me a lot of money as I didn't have to buy the units or have them fitted. It also meant that I was able to afford wooden doors (from Ireland) that were then spray painted to the colour of my choice. After months of collecting ideas, I decided that even though I loved the idea of a clean white kitchen, I needed a little colour to stop the room from feeling too cold so I chose to have the cabinets painted in sage green. Firstly, I measured the widths and heights of the actual cabinets (and not the doors) and Googled for the size of doors that would give the fit that I was after. I also ordered two large panels and some sample pots of the paint so that the ends of the cupboards that were on display could be covered.
 |
| Leftover worktop |
As you can see from the before picture, the seating in the kitchen just did not work so, I decided to remove the integrated fridge and have the worktop extended to make a breakfast bar. I then purchased a red fridge freezer to fit into a alcove by the door. The left over bits of work top were then used to make shelves above the fridge.
 |
| Guttering |
Using part of a sage green panel, the space between the wall cupboards and the wall was used to create a wine rack. Five circles were cut out and then grey guttering was fitted behind them to support the bottles. The join between the guttering and the wood was then filled, sanded and then painted using one of the tester pots.
To make the room feel more cosy and sleek, the shelf above the extractor hood was boxed in with MDF which then had to be primed and painted. I couldn't resist decorating it with some white bunting that I had!
 |
| Boxing in |
 |
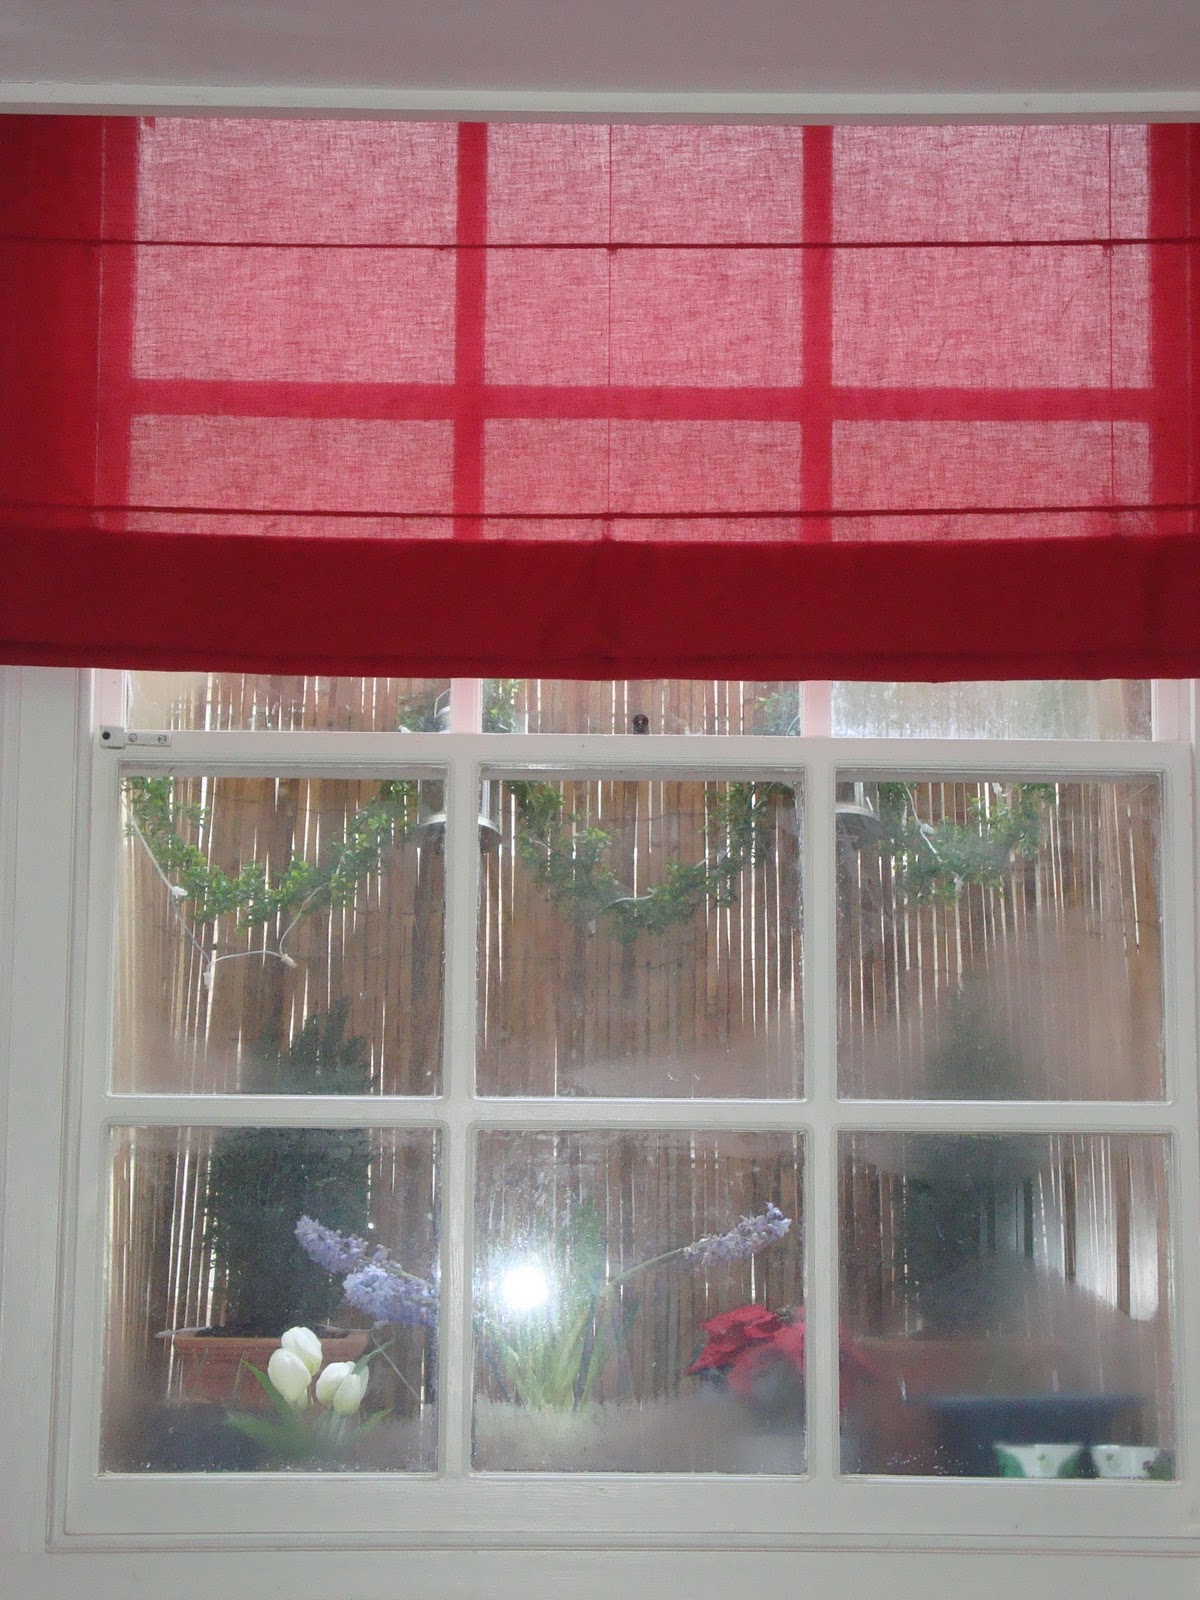
| Roof garden |
Originally, there was a steel effect blind at the window which was necessary as the old 70's office block behind our building had been developed into student accommodation. As the residents would be able to see in and the view wasn't particularly pleasant, my partner and I decided to create a small roof garden based on an idea that we had seen in a Vietnamese bathroom. The structure is made from the pallets that the tiles were delivered and some bamboo screening.